
Billing Portal Overview
Billing Portal allows users to claim, edit & push campaign data directly into the OMG finance system SMD. Billing Portal replaces the need for manual loading and records a full digital audit trail, reducing errors and resource spent on financial loadings each month. You can access Billing Portal by clicking on the application card located on the home screen, or the side panel navigation menu from anywhere within SKYNET.
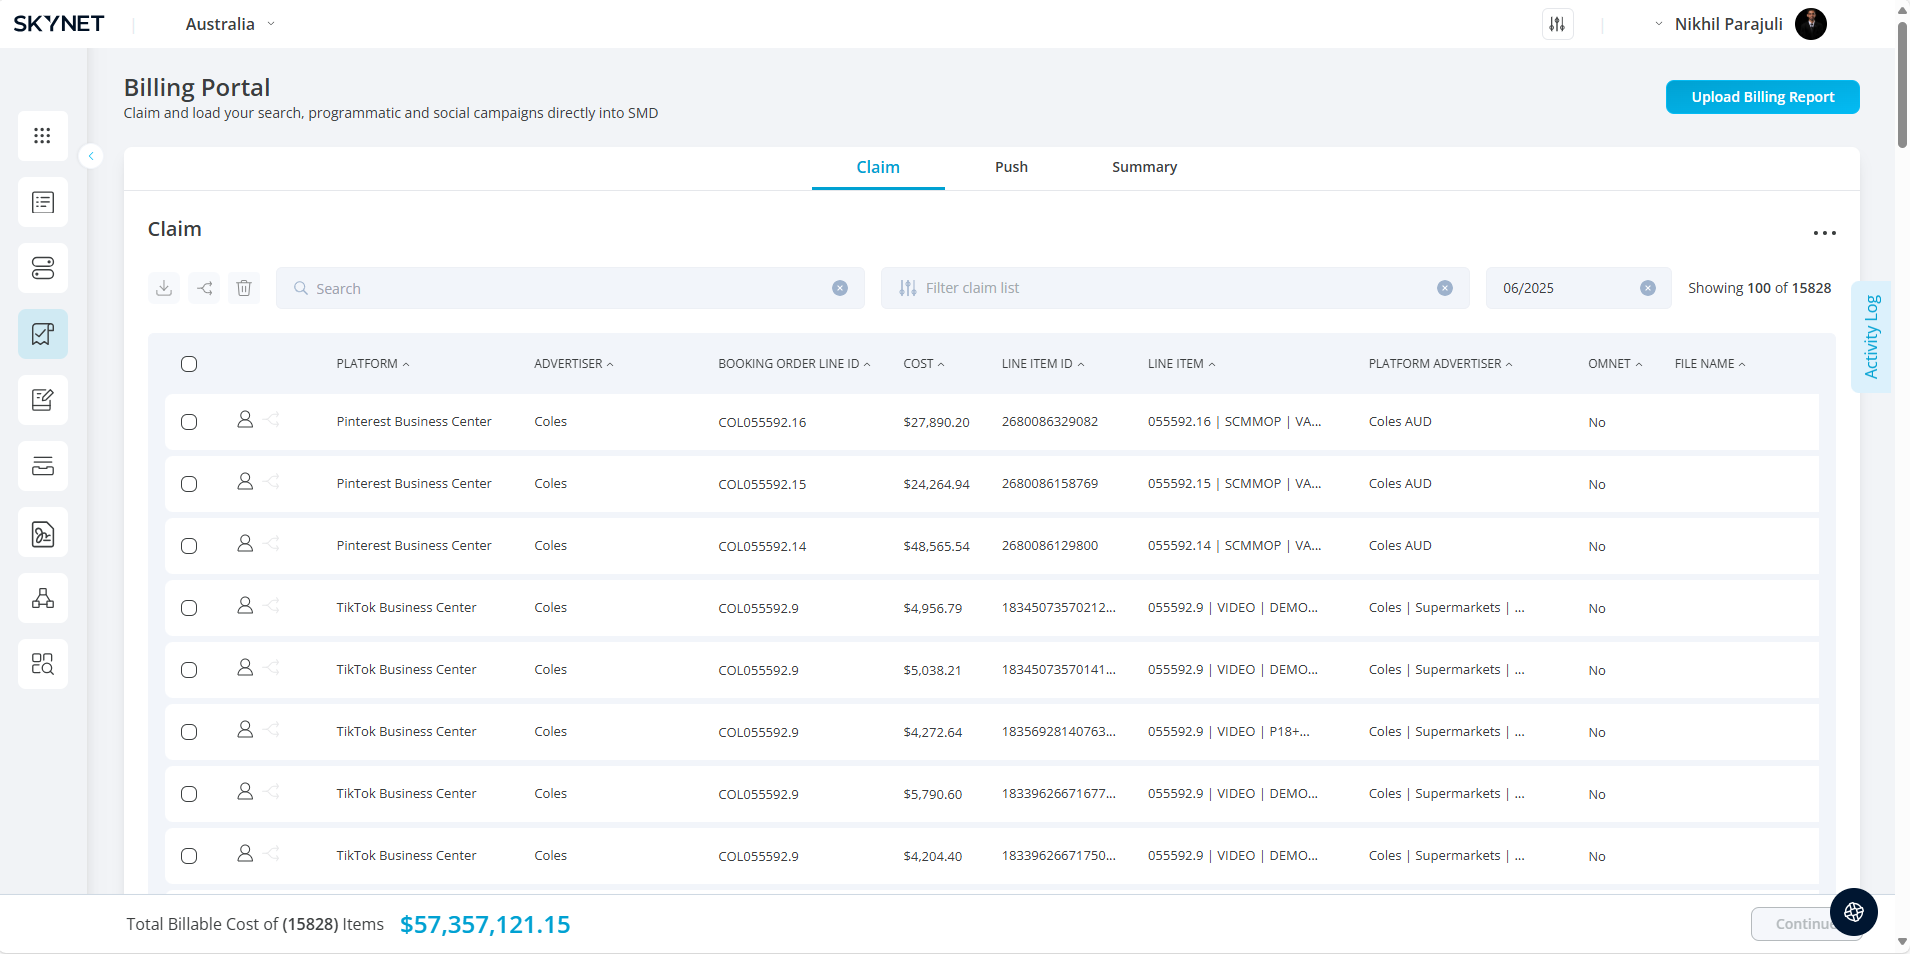
On navigating to Billing Portal, you will arrive at the claim screen. This is the first of 3 tabs you can access. Each screen has a key function in the process of creating financial loadings.
The Billing Portal enables users to:
Claim or assign billing loadings for the clients they manage.
Organize and modify loadings before sending them to SMD.
Finalize and review processed billing data.
Billing data is automatically populated from the following activation platforms:
- Amobee
- DV360
- Meta
- Pinterest Ads Manager
- Snap Ads Manager
- Teads Ads Manager
- The Trade Desk
- TikTok
- Yahoo DSP
1. Claim Screen
The Claim Screen is where users review and assign raw billing loadings. Here, users can search, filter, and manage billing lines before pushing them forward for further processing.
Purpose:
Claim or assign all loadings relating to the clients you are responsible for, and make any adjustments to how you want them arranged before proceeding to the Push Screen. Any missing loadings can also be uploaded from this screen.
Navigation & Filters:
At the top of the screen:
Search Bar: Search by Platform, Advertiser, Booking Order, or Line Item.
Filter Panel (top right): Filter by:
Platform
Billing Status
Report Type
Claim Status
OMnet Assignment
Date Filter: Defaults to the previous month.
Bulk Action Icons:
Located below the search bar, these icons activate when one or more rows are selected:
| Icon | Function |
|---|---|
| 📥 Download | Export selected billing rows to Excel |
| ↔️ Separate Line | Separate billing row from aggregation in Push screen |
| 🗑️ Delete | Delete billing row (Admins only) |
Main Billing Table:
Auto-populates monthly with data from activation platforms.
Clicking on a row reveals additional details (campaign, line item).
Two icons on the left side of each row allow individual actions:
| Icon | Action |
|---|---|
| ✅ Claim | Assign the billing row to yourself |
| ↔️ Separate Line | Mark the row to be processed individually in the Push screen |
2. Push Screen
The Push Screen displays your claimed billing rows in a consolidated format that mirrors how the data will appear in SMD.
Purpose:
Review and modify claimed loadings before pushing to SMD. Billing Portal aggregates rows with the same Booking Order Line ID unless they were separated in the Claim Screen.
Navigation & Filters:
At the top of the screen:
Search Bar: Search by Advertiser, SMD Schedule, Ad Category, or Placement Description.
Filter Panel: Filter by:
Platform
OMnet Assignment
Bulk Action Icons:
Appears when one or more rows are selected:
| Action | Function |
|---|---|
| 📥 Download | Export loading data to Excel |
| ✏️ Edit Table | Enables editing of selected columns: Medium Code, Creditor, Ad Category, Placement Description |
🔒 Note: Billing rows marked as “separated” in the Claim Screen will show a separation icon here. You cannot update their separation state in the Push Screen — return to Claim Screen to modify.
Per Row Action Menu:
Found at the end of each row:
| Action | Function |
|---|---|
| 👁 Show Billing Report Details | View all billing rows that make up the loading |
| 💲 Edit Billable Cost | Modify the cost and provide a reason |
| ✅ Mark as Finalised | Confirms the loading is completed externally; sends to Summary Screen |
| ❌ Remove from Push Screen | Removes the loading from Push Screen view only |
3. Summary Screen
The Summary Screen reflects all billing loadings that have either:
Been pushed to financial systems
Been marked as finalised within the Billing Portal
This screen serves as a record for completed billing data.