
Opti Script AI User Manual
Introduction
This guide provides step-by-step instructions on how to create, edit, and manage Opti Script AI within the Command Center. By following these instructions, users will be able to define custom scripts, set conditions, and publish scripts for use in external platforms.
1. Accessing Opti Script AI
Navigate to the Command Center.
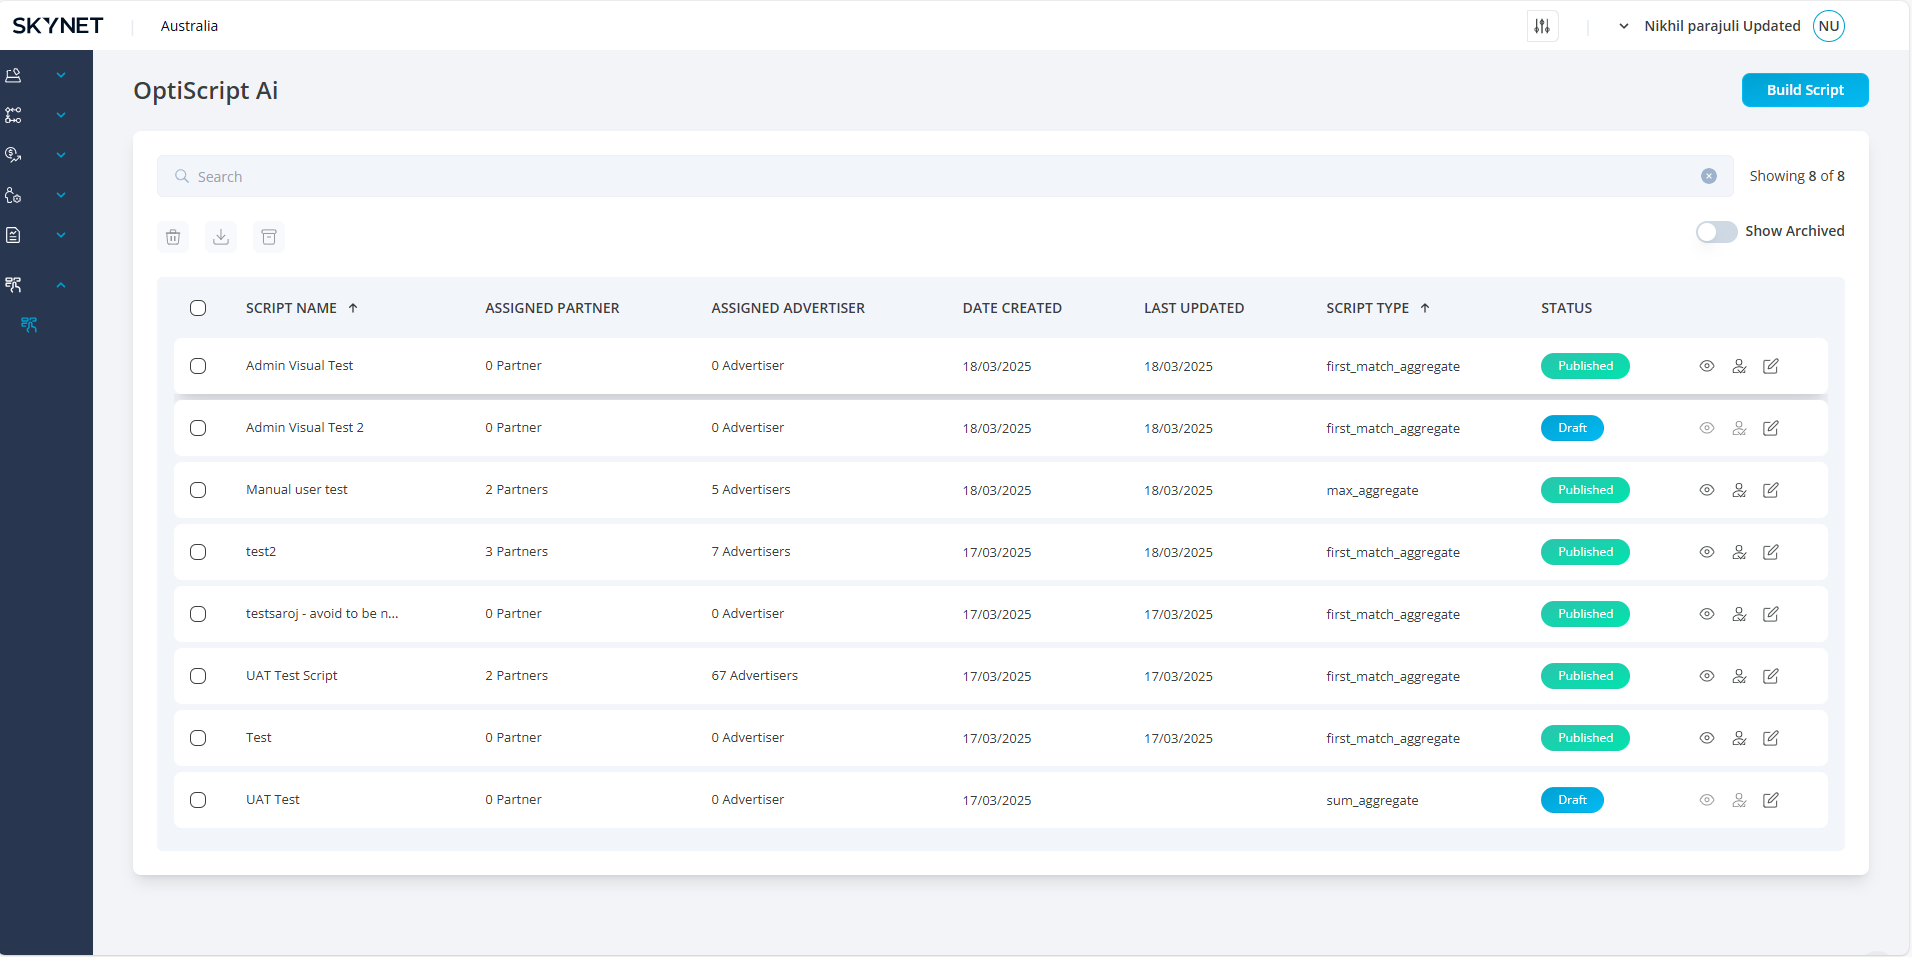
Click on Opti Script AI to access the listing page.
The listing page displays all previously created scripts.
Creating a New Script
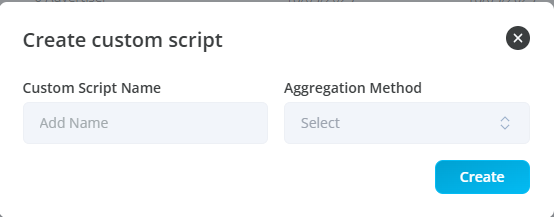
Click the Build Script button.
A popup will appear:
Enter a unique custom script name.
Select the aggregation method from the dropdown.
Click Create to proceed to the custom script page.
2. Configuring the Custom Script
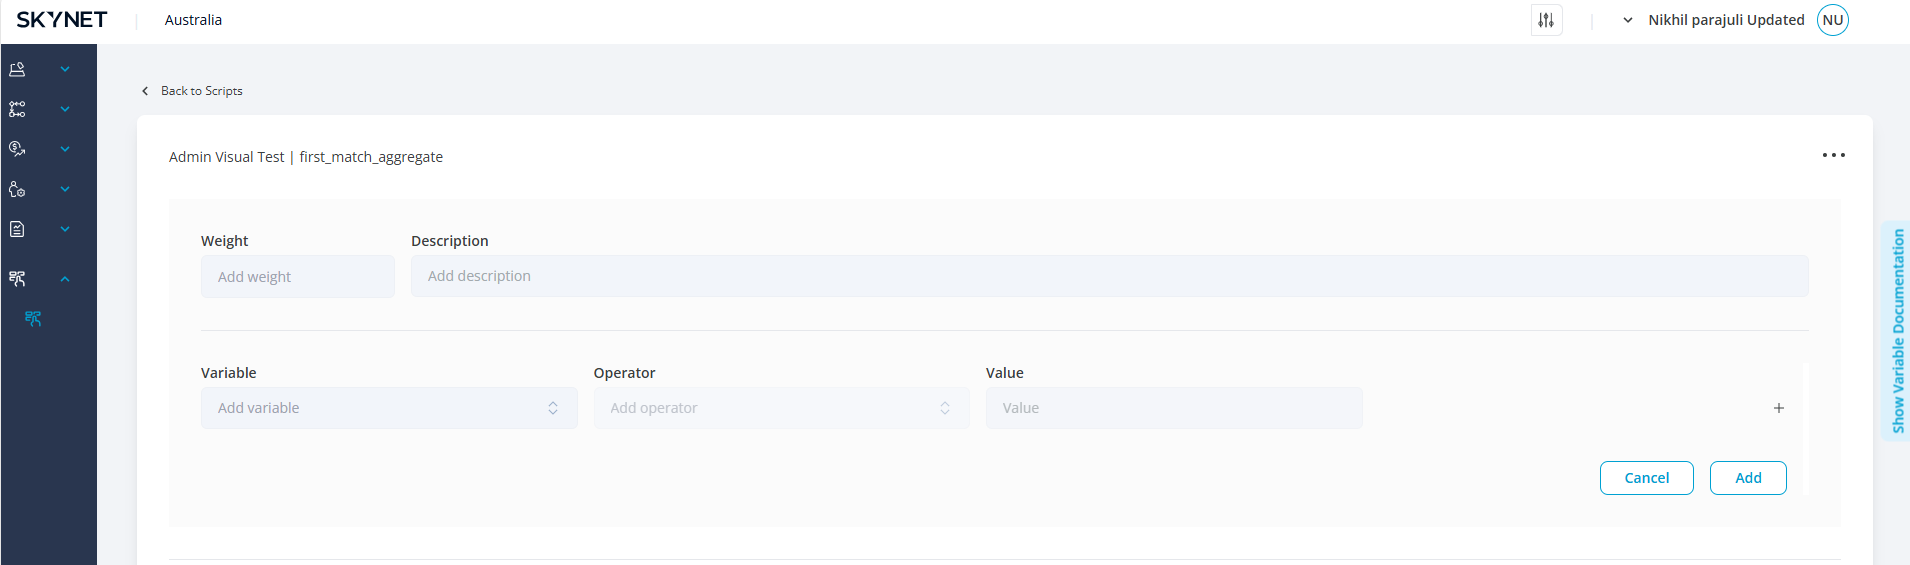
The script name and aggregation method will be displayed at the top-left corner.
Define the following fields:
Weight (Only whole numerical values allowed)
Description (Alphanumeric values allowed)
Adding Conditions
Select the variable, operator, and values from dropdown menus.
To add another condition, click the ‘+’ icon.
Additional options appear:
Select a logical connector.
Use the ‘-’ icon to remove a condition.
All dropdown fields are mandatory.
Click the Add button to save conditions.
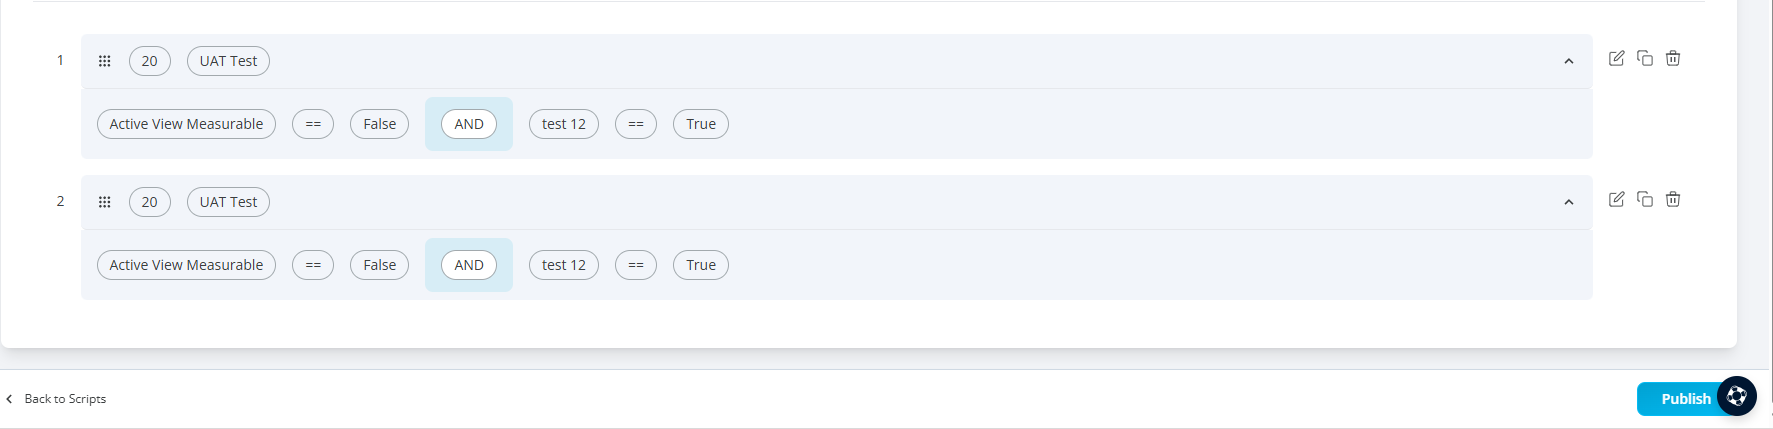
Added conditions will be listed below the page with:
Logical connectors highlighted.
Action icons for duplicate, edit, and delete will be available for each line condition.

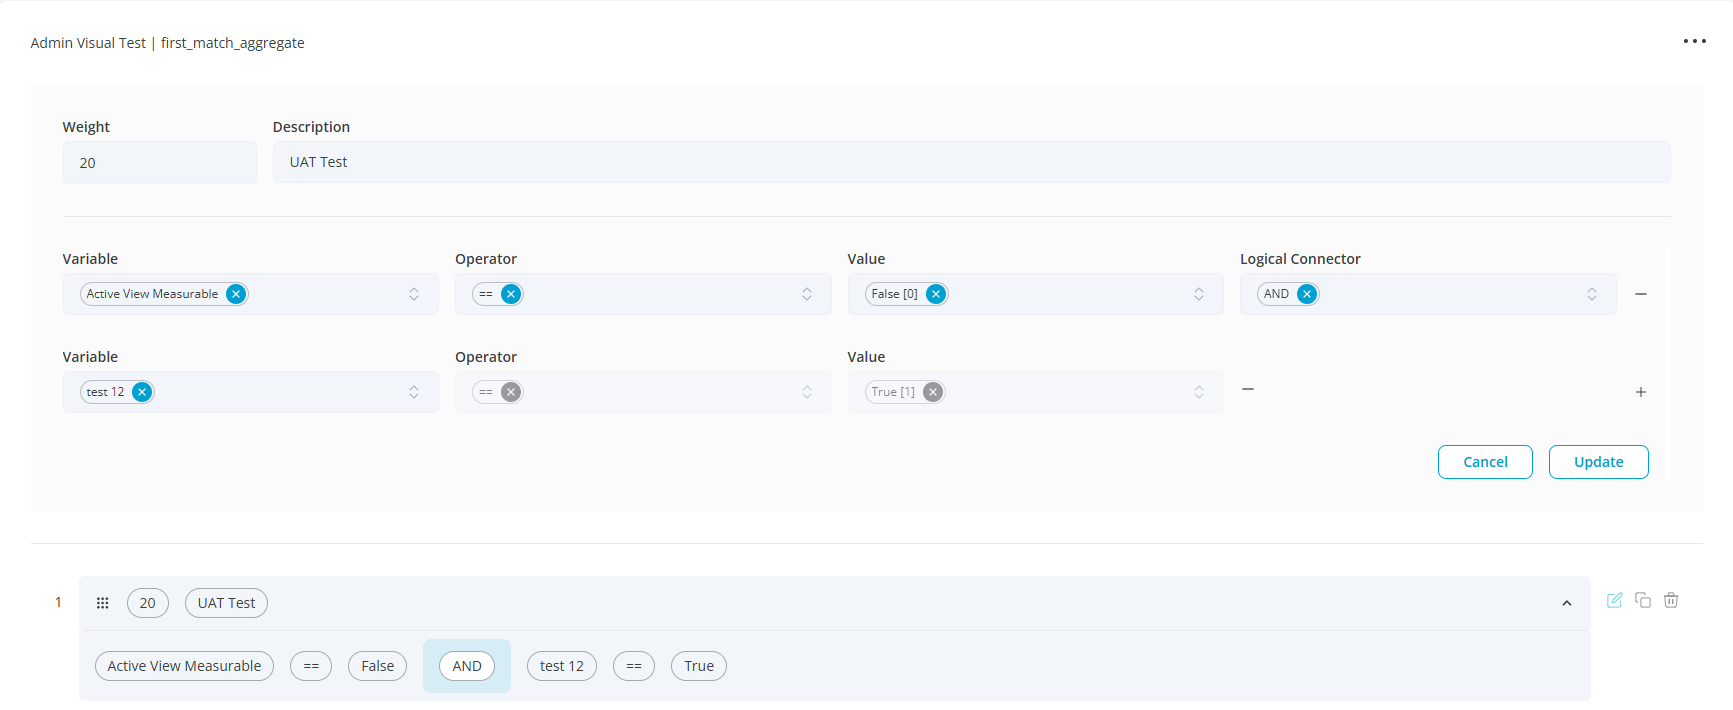
3. Managing Conditions
Action Icons
Duplicate: Copies an existing condition and adds it to the list.
Edit:
Updates a selected condition.
The condition fields populate for modification.
The ‘Add’ button is replaced by ‘Update’.
Users can modify weight, description, variables, operators, and values.
Click ‘Update’ to save or ‘Cancel’ to discard changes.
Delete:
Clicking the delete icon prompts a confirmation popup.
Click ‘Yes’ to delete or ‘No’ to cancel.

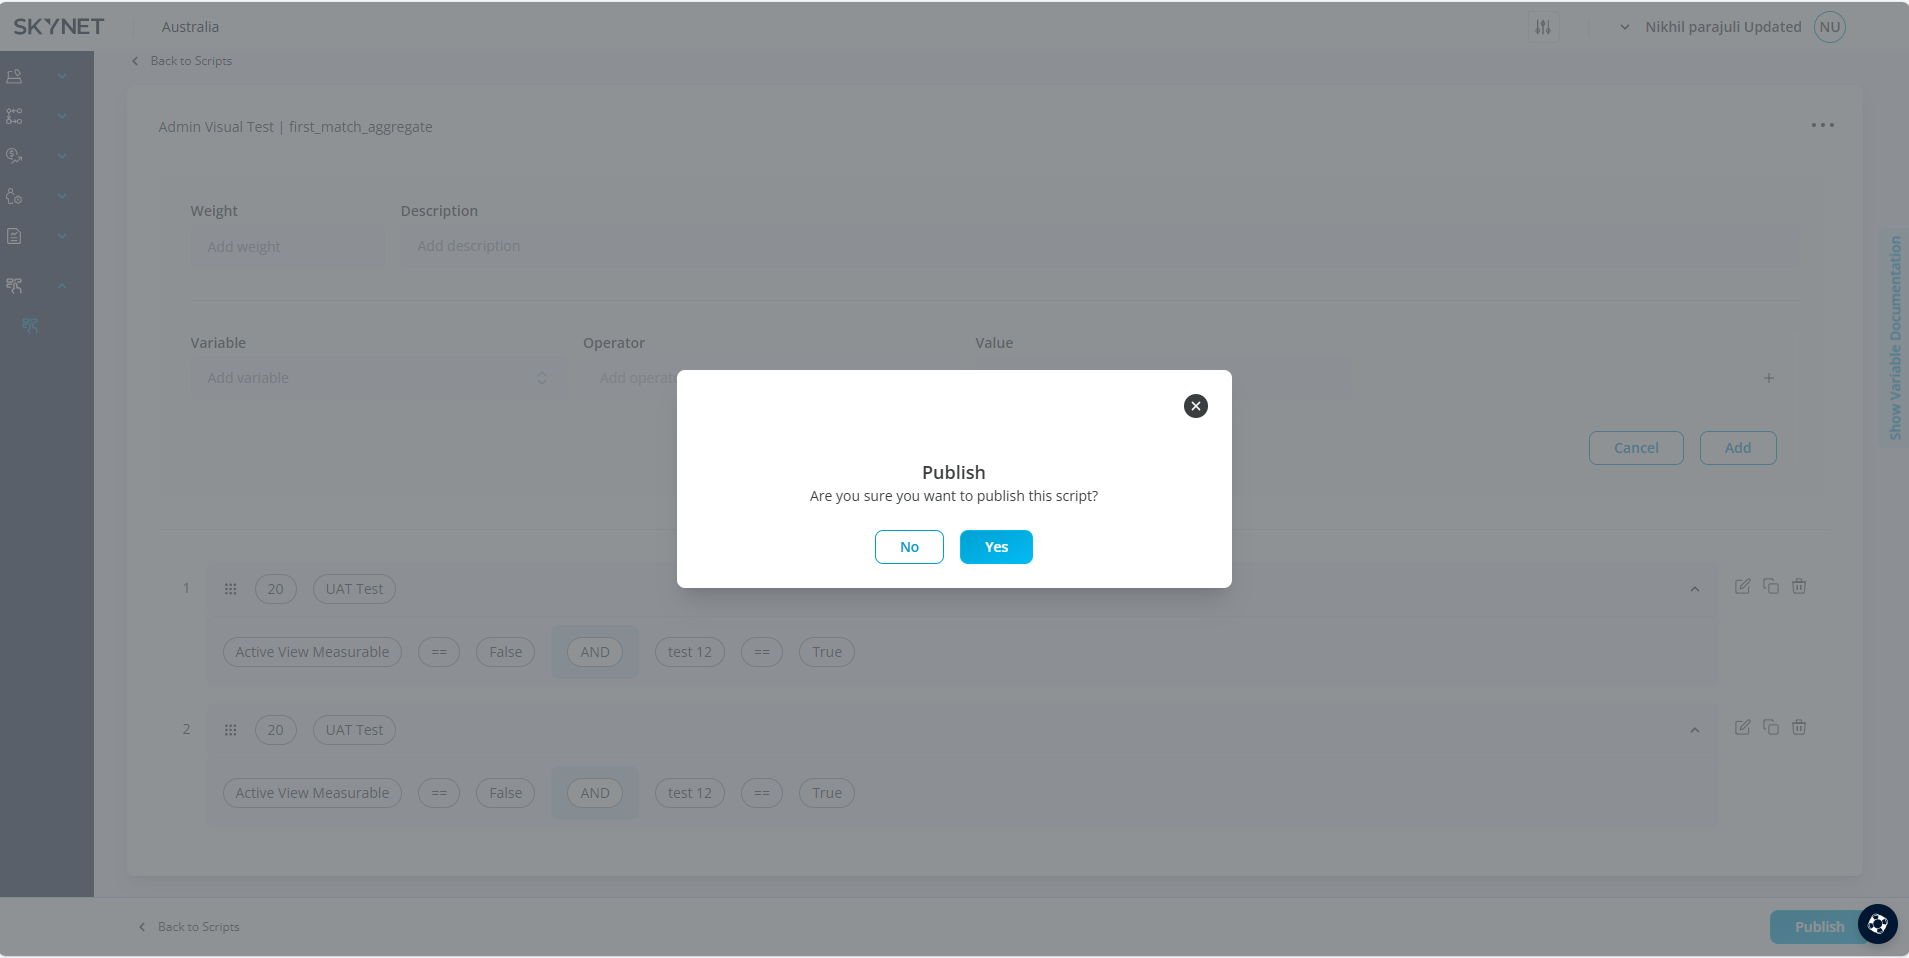
4. Publishing the Custom Script
The Publish button will be enabled after adding conditions.
Click Publish:
A confirmation popup appears.
Click Yes to confirm.
A success message will appear: "Success, Custom Script published successfully."
Once published:
The Publish button is disabled.
Users remain on the same page.
5. Additional Script Actions
Click the three-dot icon at the top-right to access:
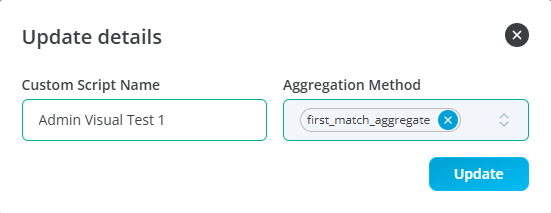
Rename Script
Click Rename.
A popup appears to update the script name and aggregation method.
Click Update.
The Publish button will be enabled again. Re-publish to apply changes.
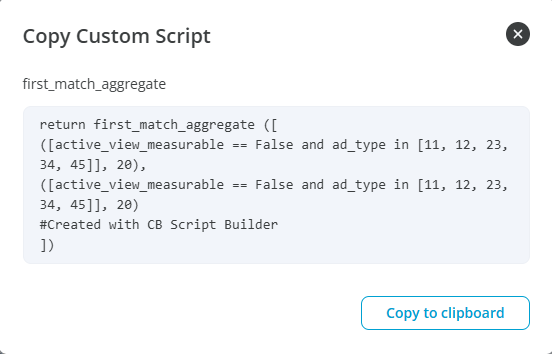
Export Script
Click Export Script.
A popup displays the script content.
Click Copy to Clipboard to use in platforms like DV360.
Assign to Partner or Advertiser
Can only be done after publishing the script.
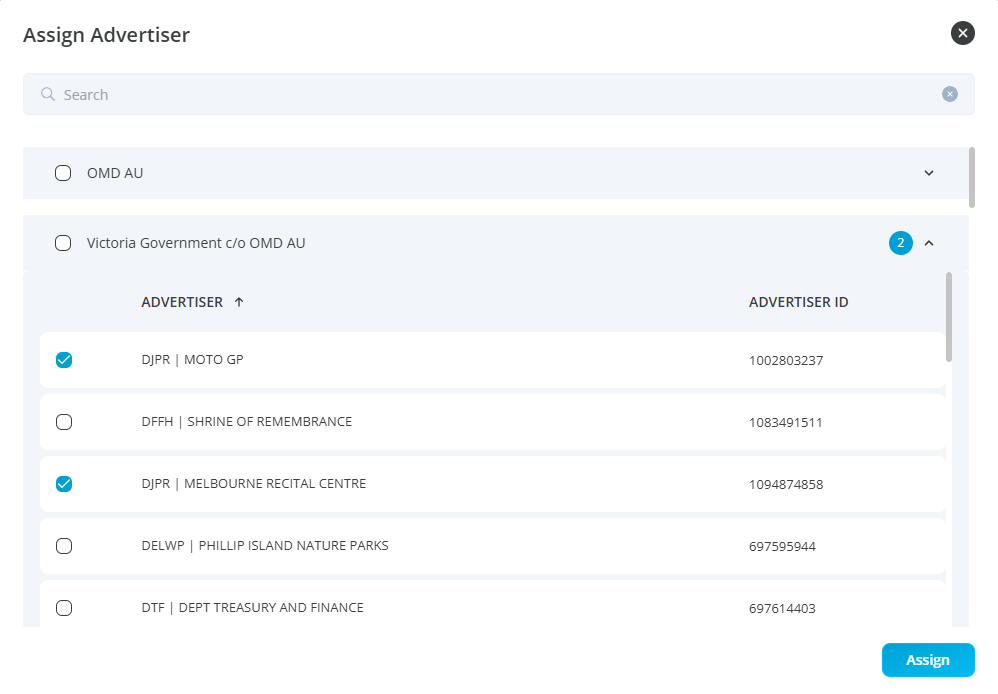
Click Assign to Partner or Advertiser.
A popup appears listing advertisers.
Expand or collapse advertisers by clicking the agency name.
Select advertisers using checkboxes.
Click Assign to complete the process.
A confirmation message appears.
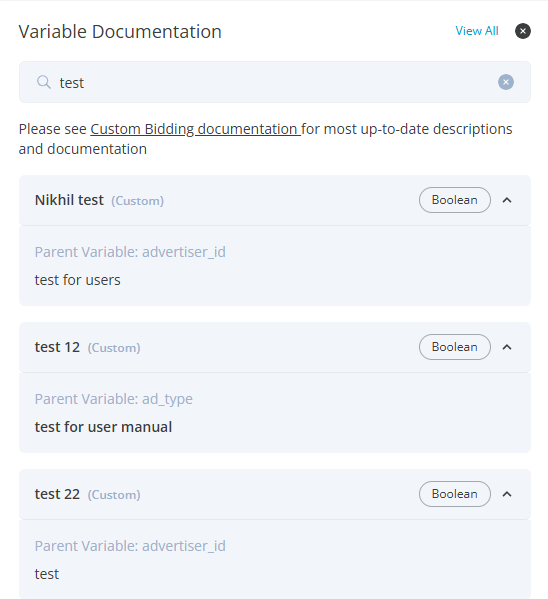
Create Custom Variable
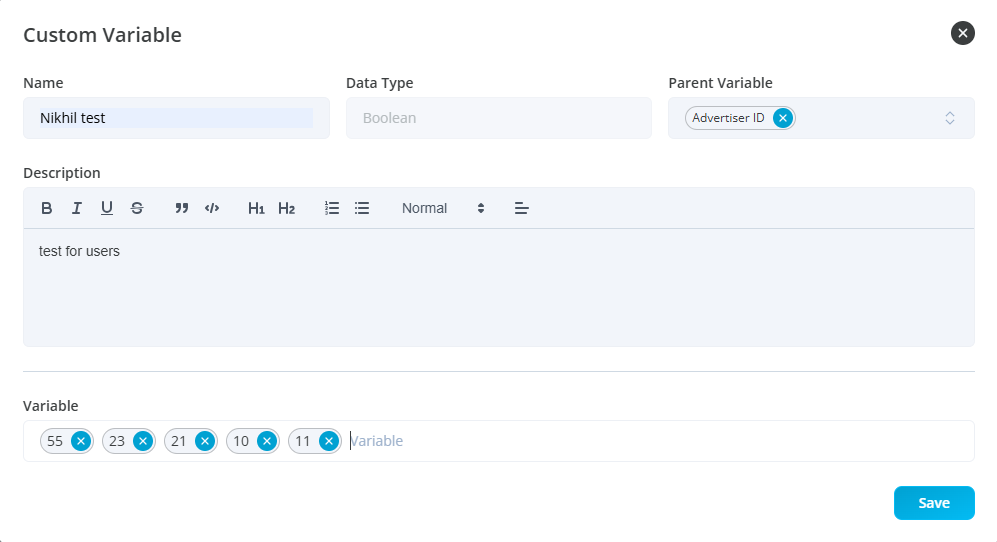
Click Create Custom Variable.
A popup appears where users can:
Enter variable name.
Select parent variable (data type is always Boolean).
Add a description.
Enter numeric field values. (User should press enter key after adding numeric value)
Click Add to save.

6. Viewing Custom Variables
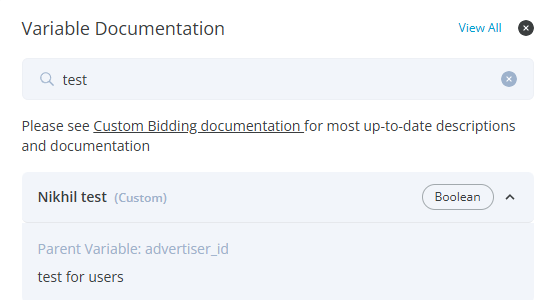
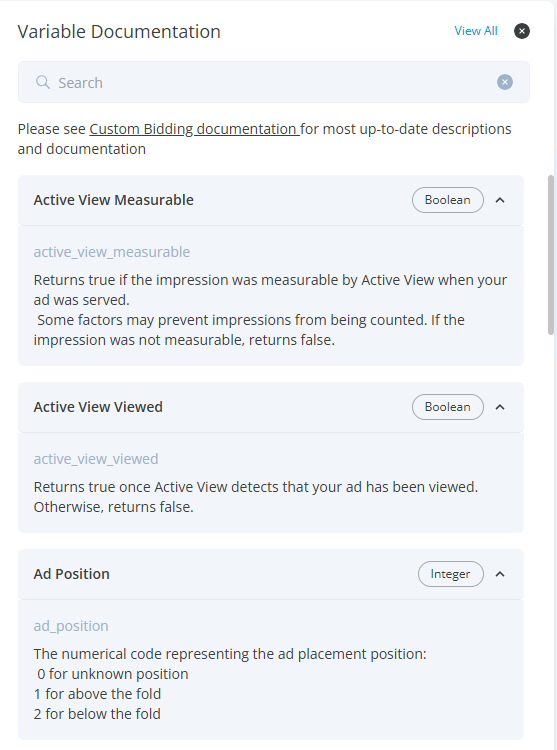
Click Show Variable Documentation on the right side of the screen.
A side panel opens displaying:
A link to Custom Bidding Documentation.
A search bar for variables.
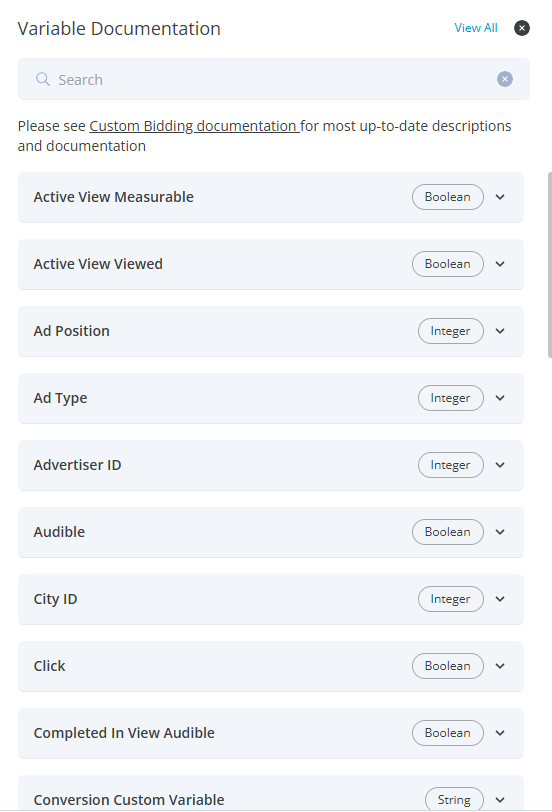
A structured list of variables:
Collapsed: Displays name and type.
Expanded: Displays name, type, and description.
Click Hide Variable Documentation to close the panel.
Conclusion
By following these steps, users can successfully create, edit, and manage custom Opti Scripts efficiently.