
Create Taxonomy From Booking.
Create Taxonomy from Booking
User can create a Taxonomy from a booking, to create a taxonomy from booking user should follow below steps;
Steps to land on taxonomy builder page.
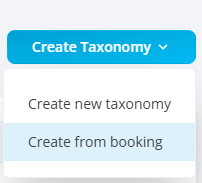
User should go to Taxonomy listing page and click on create taxonomy.
User should be able to see an option to Create from booking/
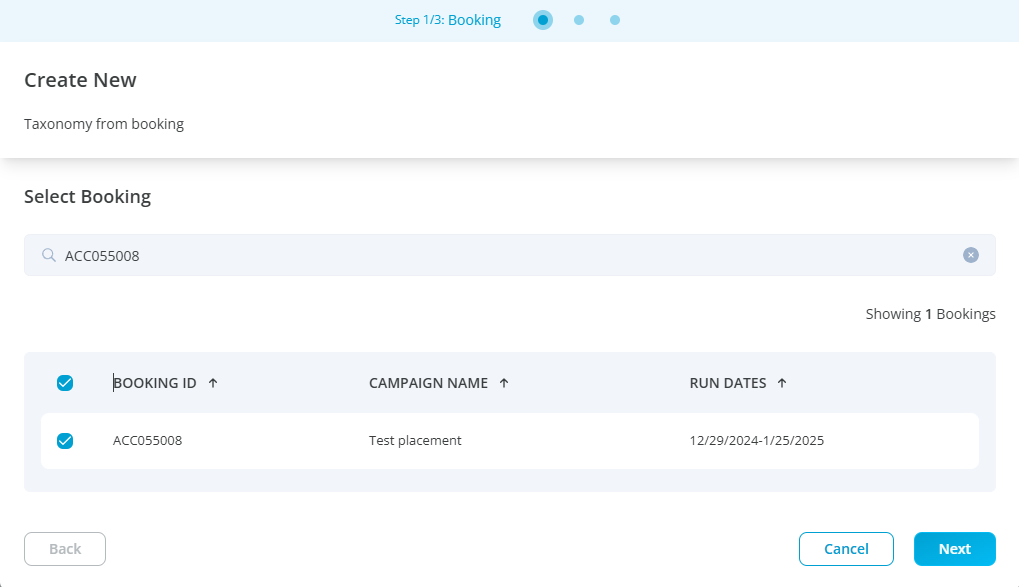
Upon clicking on create from booking a popup will open to select a booking made by a user.
User can only create a taxonomy from a booking that is published by them.
User can search the booking by entering booking id in a search bar, upon searching a booking will appear in a popup with booking id, campaign name and run dates, user can only search a single booking at a time.
Once the booking id appears in the popup user should select the booking by clicking on a checkbox and click on next.
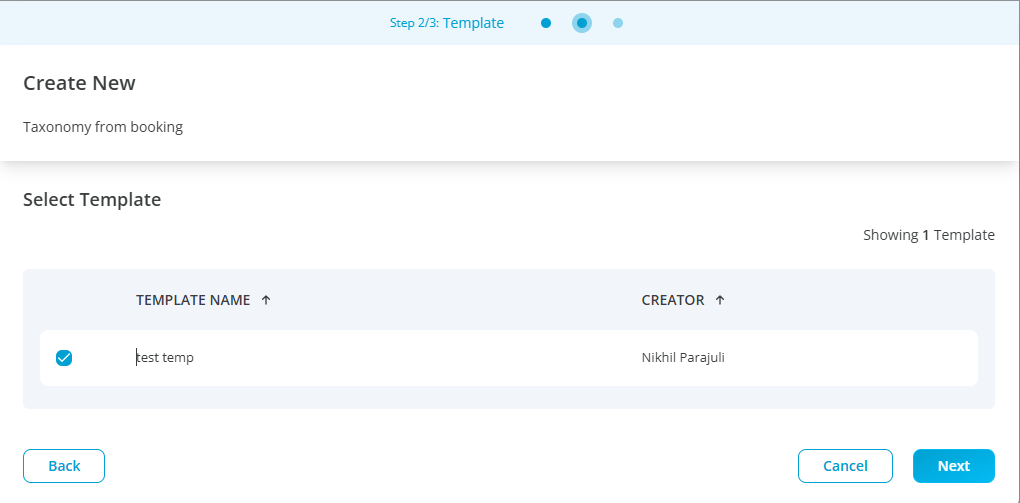
The next step is to select the template to create a booking.
The advertiser used to create booking must be assigned to the taxonomy template for the template to appear in the create from booking popup. Example if a booking id AC2324523 has an assigned advertiser “Department of Education” then the taxonomy template created by the user should also be assigned to the advertiser “Department of Education” else the template won't appear in the popup while creating taxonomy.
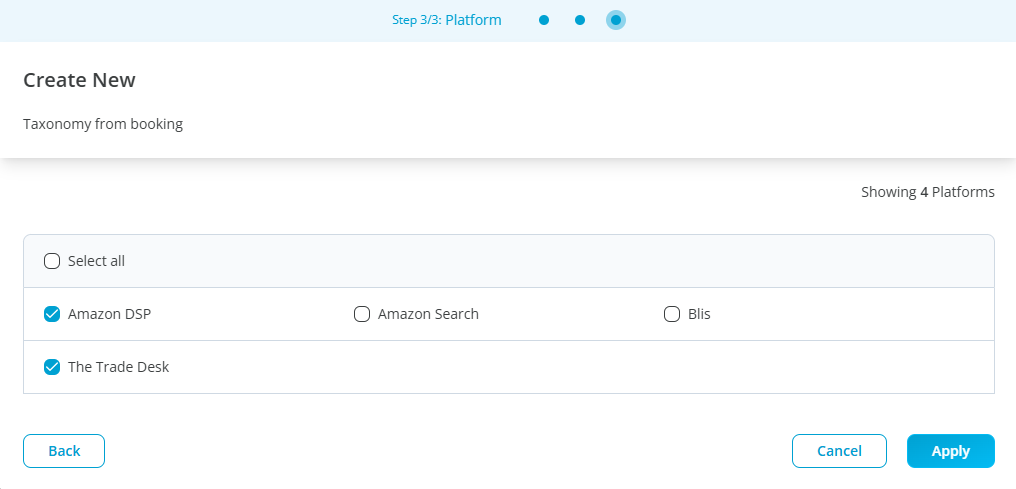
Once the advertiser is selected the next step will be to select the platform from a popup, user can select one or multiple platforms to create a booking. After selecting a platform and clicking on apply a taxonomy builder page will appear.
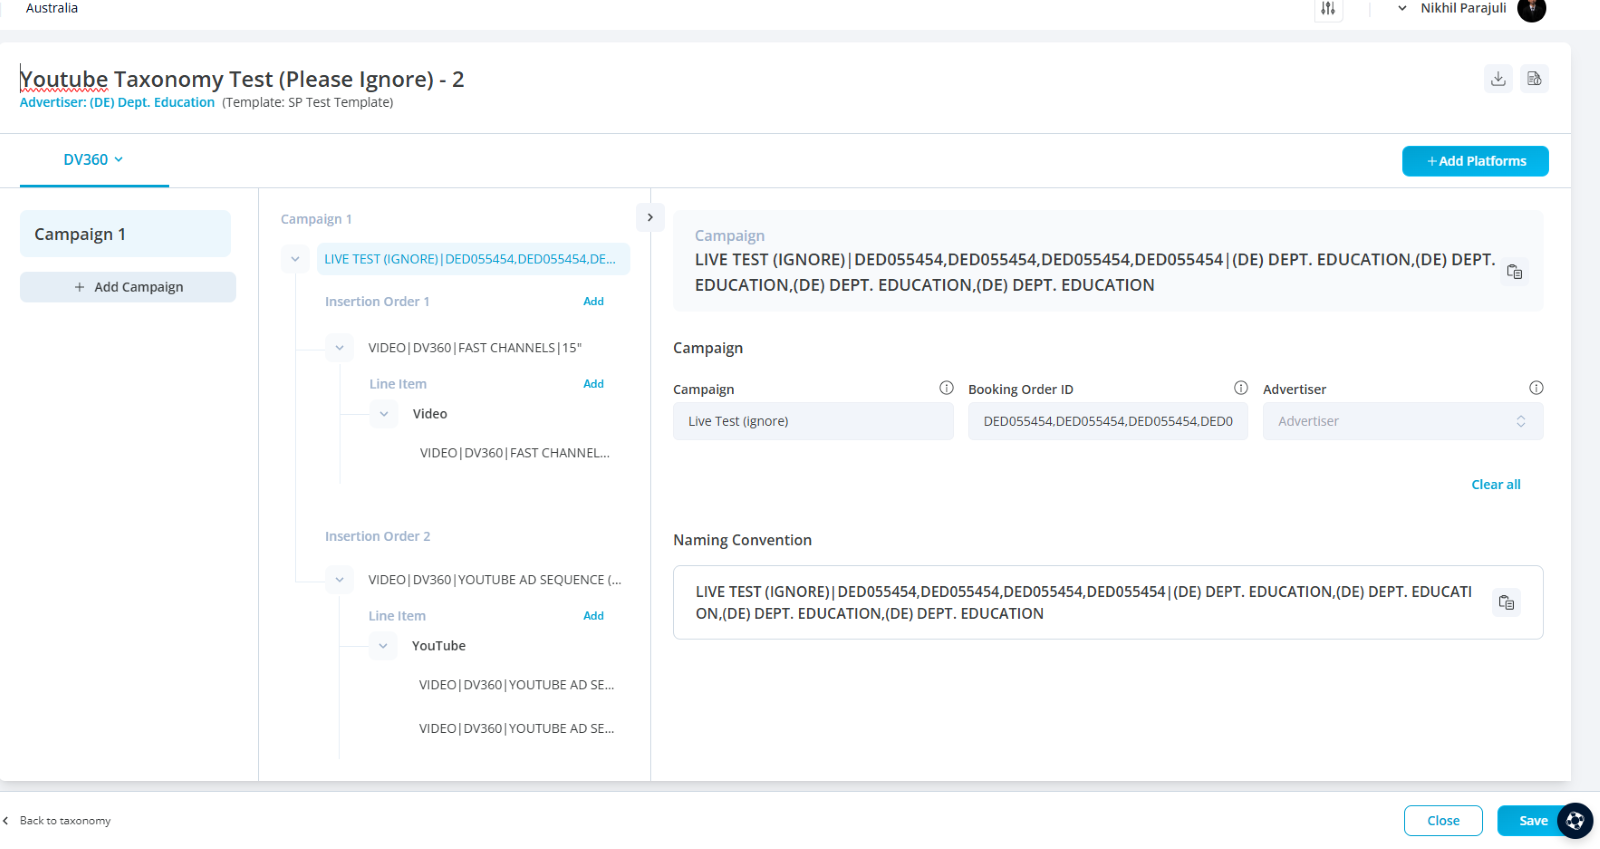
Campaign creation
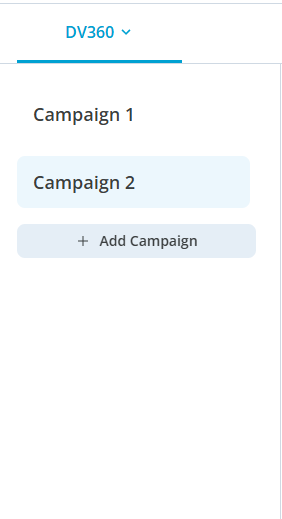
Once the user has landed on taxonomy builder page the first step is to create a campaign.
To create a new campaign, the user can click on the "Add Campaign" button located in the left panel of the page.
When a campaign is selected, its details, including the package and placement, will be displayed in the main panel.
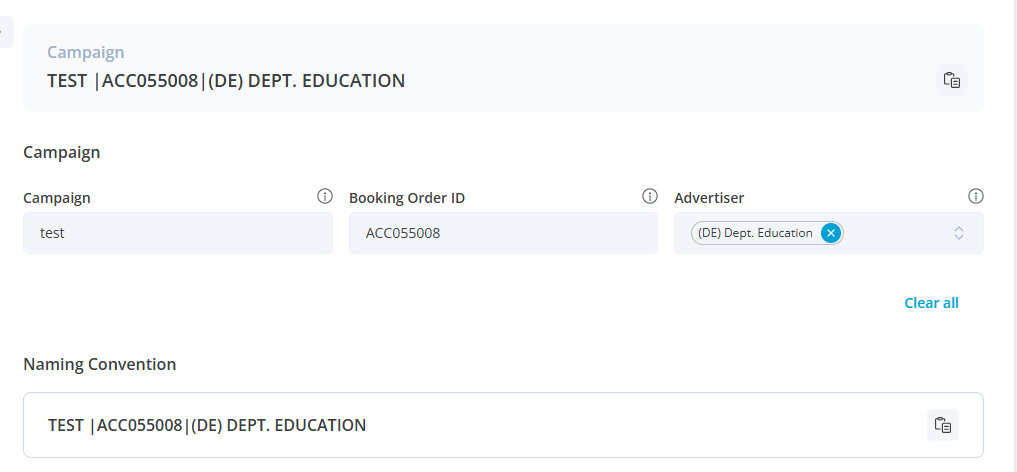
Users can edit campaign details from the right panel. To create a campaign, three fields must be completed: Partner Name, Advertiser, and Advertiser Alias. Once these fields are filled, the user can click "Save" to successfully save the campaign.
The campaign name will be recorded as a combination of the Partner Name, Advertiser, and Advertiser Alias. For example, if the Partner Name is "OMG," the Advertiser is "MacDonalds," and the Advertiser Alias is "Mac," the campaign name will be saved as "OMG | MacDonalds | Mac."
A campaign must be saved before adding packages. The “Add” button will only be enabled once the campaign details are saved.
To save the campaign, the user can click the "Save" button at the bottom right corner of the page.
After clicking on save the campaign will be created, a toast message saying "Taxonomy for campaign updated successfully" will appear in the top right corner of the page.
Adding Insertion order
To add a insertion order to a campaign, click the blue "Add" button located next to the package.
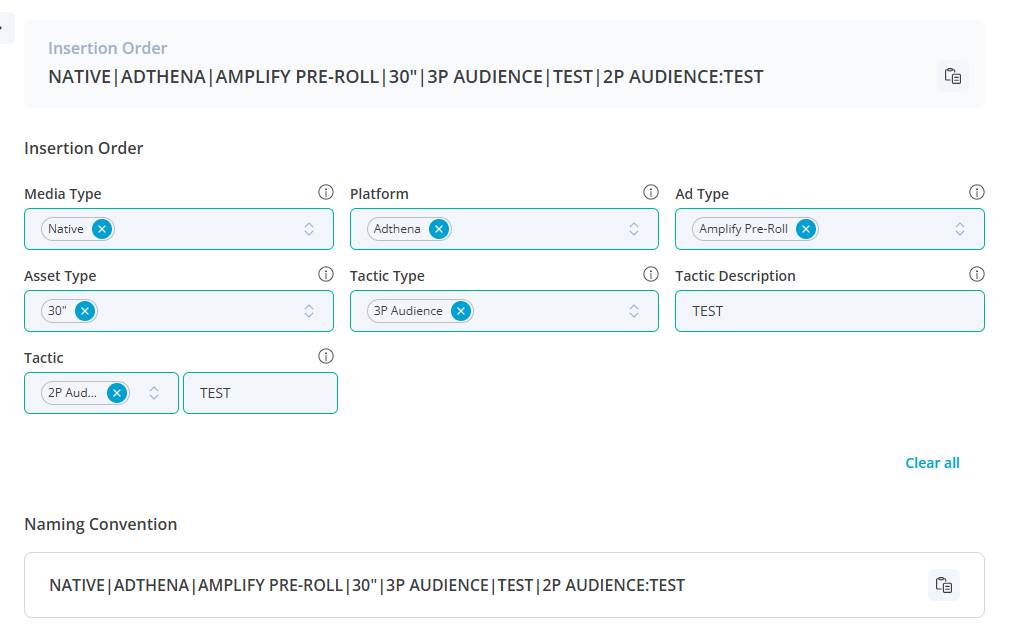
The fields required for adding a insertion order will automatically duplicate from the template selected to create the taxonomy.
Multiple insertion order can be added to a single campaign.
Ensure that all mandatory fields are filled in, then click "Save" to add the insertion order.
The insertion order name will be generated by combining the values entered in all the fields. For example, if the Platform, Partner, Media Type, and Objective are Google, OMG, Facebook, and Mac, the insertion order name will be recorded as "Google | OMG | Facebook | Mac."
To save the insertion order, click the "Save" button located at the bottom right corner of the page.
Once the insertion order is created, a toast message will appear in the top right corner of the page, confirming the update: "Taxonomy for campaign updated successfully."
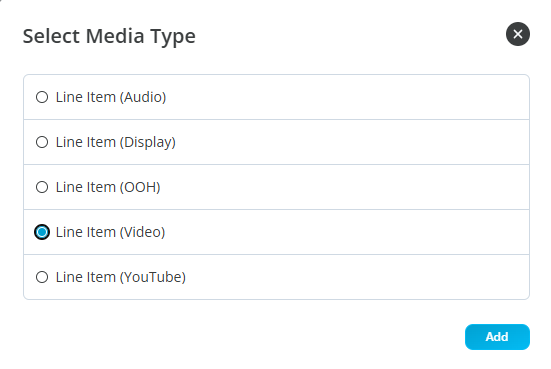
Adding Line item
To add a Line item to your campaign, simply click the blue “Add” button next to the campaign package.
You can add multiple line item to a single campaign.
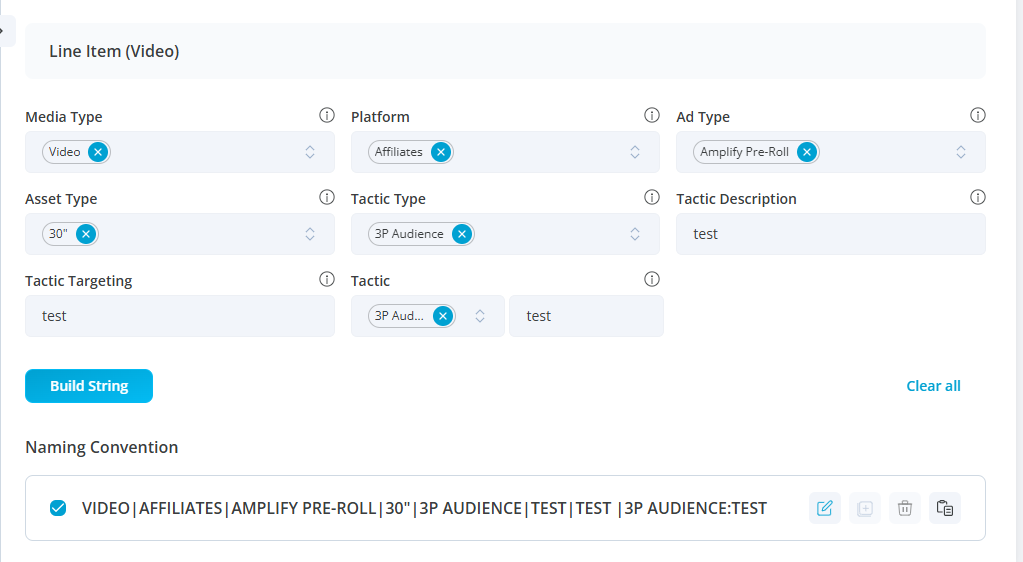
Ensure that all mandatory fields are filled out, and then click the “Save” button at the bottom right to add the line item.
The name of the placement will be automatically created by combining the values you enter in all the fields. For example, if you enter Google for Platform, OMG for Partner, Facebook for Media Type, and Mac for Objective Name, the placement name will appear as:
Google | OMG | Facebook | Mac.
Finalize creation
After creating campaign, adding package and placement the publish button will be activated, upon clicking on publish the taxonomy will be created, the user will be able to see a confirmation toast message in the top right corner saying:
“Taxonomy for campaign updated successfully.” and the created taxonomy will be listed on a listing page.